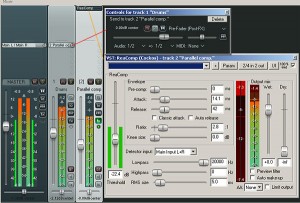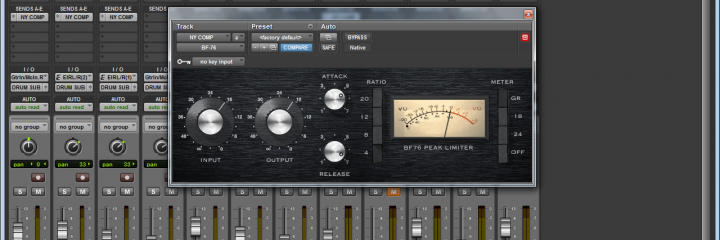
The concet is simple: it’s a compressor with a high ratio on an aux track.
Is that all? Of course not, but it’s the main idea. This technique is very useful when it comes to mixing, to give more punchiness to your drum bus. But how to do it? Create a new aux track in your DAW (aux track, FX track, the name is different in each DAW), and insert a compressor in the FX chain. Rename the track as you like, let’s say “Drum Comp”.
Send the Kick, Snare, Toms and Hi-Hat tracks to the Drum Comp. SOLO that track and press play. Start tweak your compressor raising the ratio (10:1 and above) and keeping the release long enough depending on the type of song you’re mixing (the faster the song, the slower the release). You’ll start hearing how much the compression is squashing the drum sound, almost ruining it. But when you’ll disable the SOLO on the track you’ll understand the benefit of the parallel compression: the overall sound of the drum now is punchier than ever! My advise si to keep your Drum Comp track volume down, your drum tracks will still have a great punch, because you’re adding the benefit of the compression to the unprocessed Drum Bus, keeping all the dynamics. This is really important in Hard Rock, more than in Heavy Metal.
That way, you’ll have all the great dynamics of the drums performace with the punch of the compressor all together!


comments