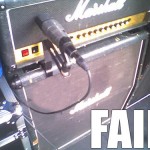
There are few important preliminary steps to follow before you can start recording, they’ll do the difference if you follow them:
- Put your cab on a physical support, don’t leave it directly on the ground.
- You have to listen to each cone of your cab (if you have a one-cone cab you just won a ticket to skip this passage!) to understand which one sounds best. What you don’t want is to record a “crackle” sounding cone right?
- Once you got the right cone, light it up with a pocket torch and find its center: this is now your main reference point.
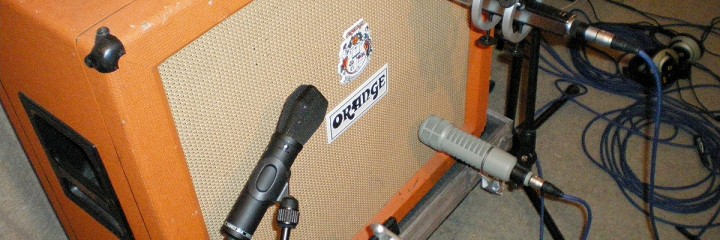
Let’s suppose you have a dynamic mic, maybe a Shure SM57 (for those who don’t know, it’s a 100€ dynamic microphone, one of the most versatile and efficient on planet Earth), put it straight perpendicularly in front of the grid (the best you can), half an inch distant from the grid itself. Now start experimenting with the position relative to the center of the cone: the more you aproach to the center the more it sounds clearer, almost too harsh if you are right above the center. On the contrary, if you are near the edge of the cone, it will lose presence, capturing more lows and low-mids.
As you can understand the position is critical, changing the mic position will affect deeply your sound during recording: experiment to understand which position you like most.
Below you can find a video by Ola Englund that will definitely explain this topic.


comments